≡
Home
About us
Our Products
Contact us
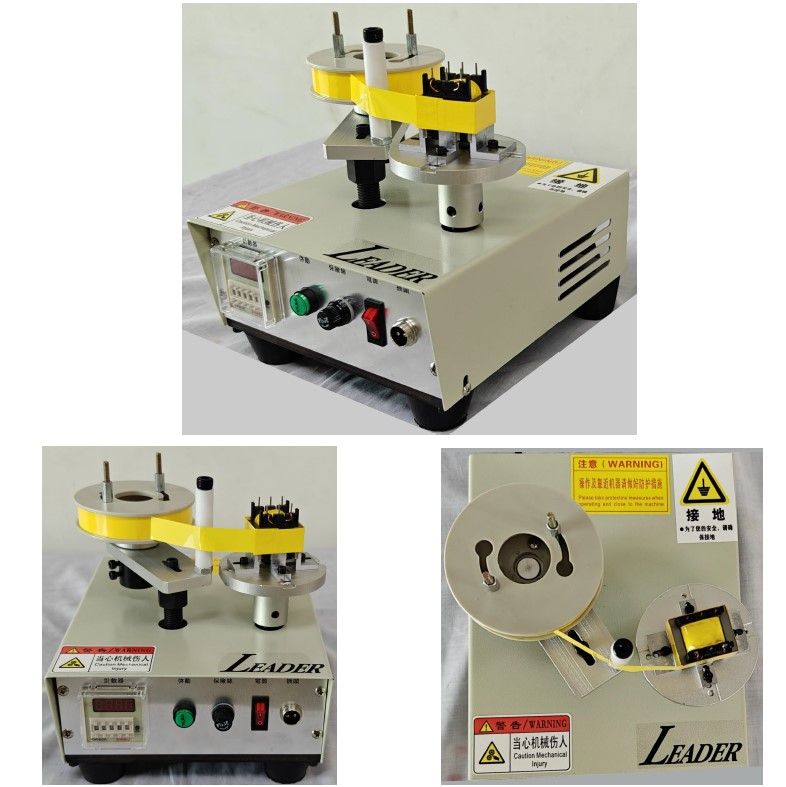
LD-903
Auto core taping machine
Number of turns setting:
0~9999 turns (switchable*10*100)
Speed:
260rpm
Application range:
EI/EE16~55(other sizes can be customized)
Fixture:
The shared fixture can be adjusted at will.
Tape tray:
The shared tray allows the thickness of the tape to be adjusted at will.
Working voltage:
220V 50HZ
Weight:
10kg
Size:
220*260*260mm
c
Contact us
立群國際興業有限公司
© LEADERLD International Co.,Ltd. All Rights Reserved.
Welcome visit our social media get the latest news.